
Steps for Installing an EV Charger in your Home
Installing an Electric Car Charger in a Residential Building: A Step-by-Step Guide
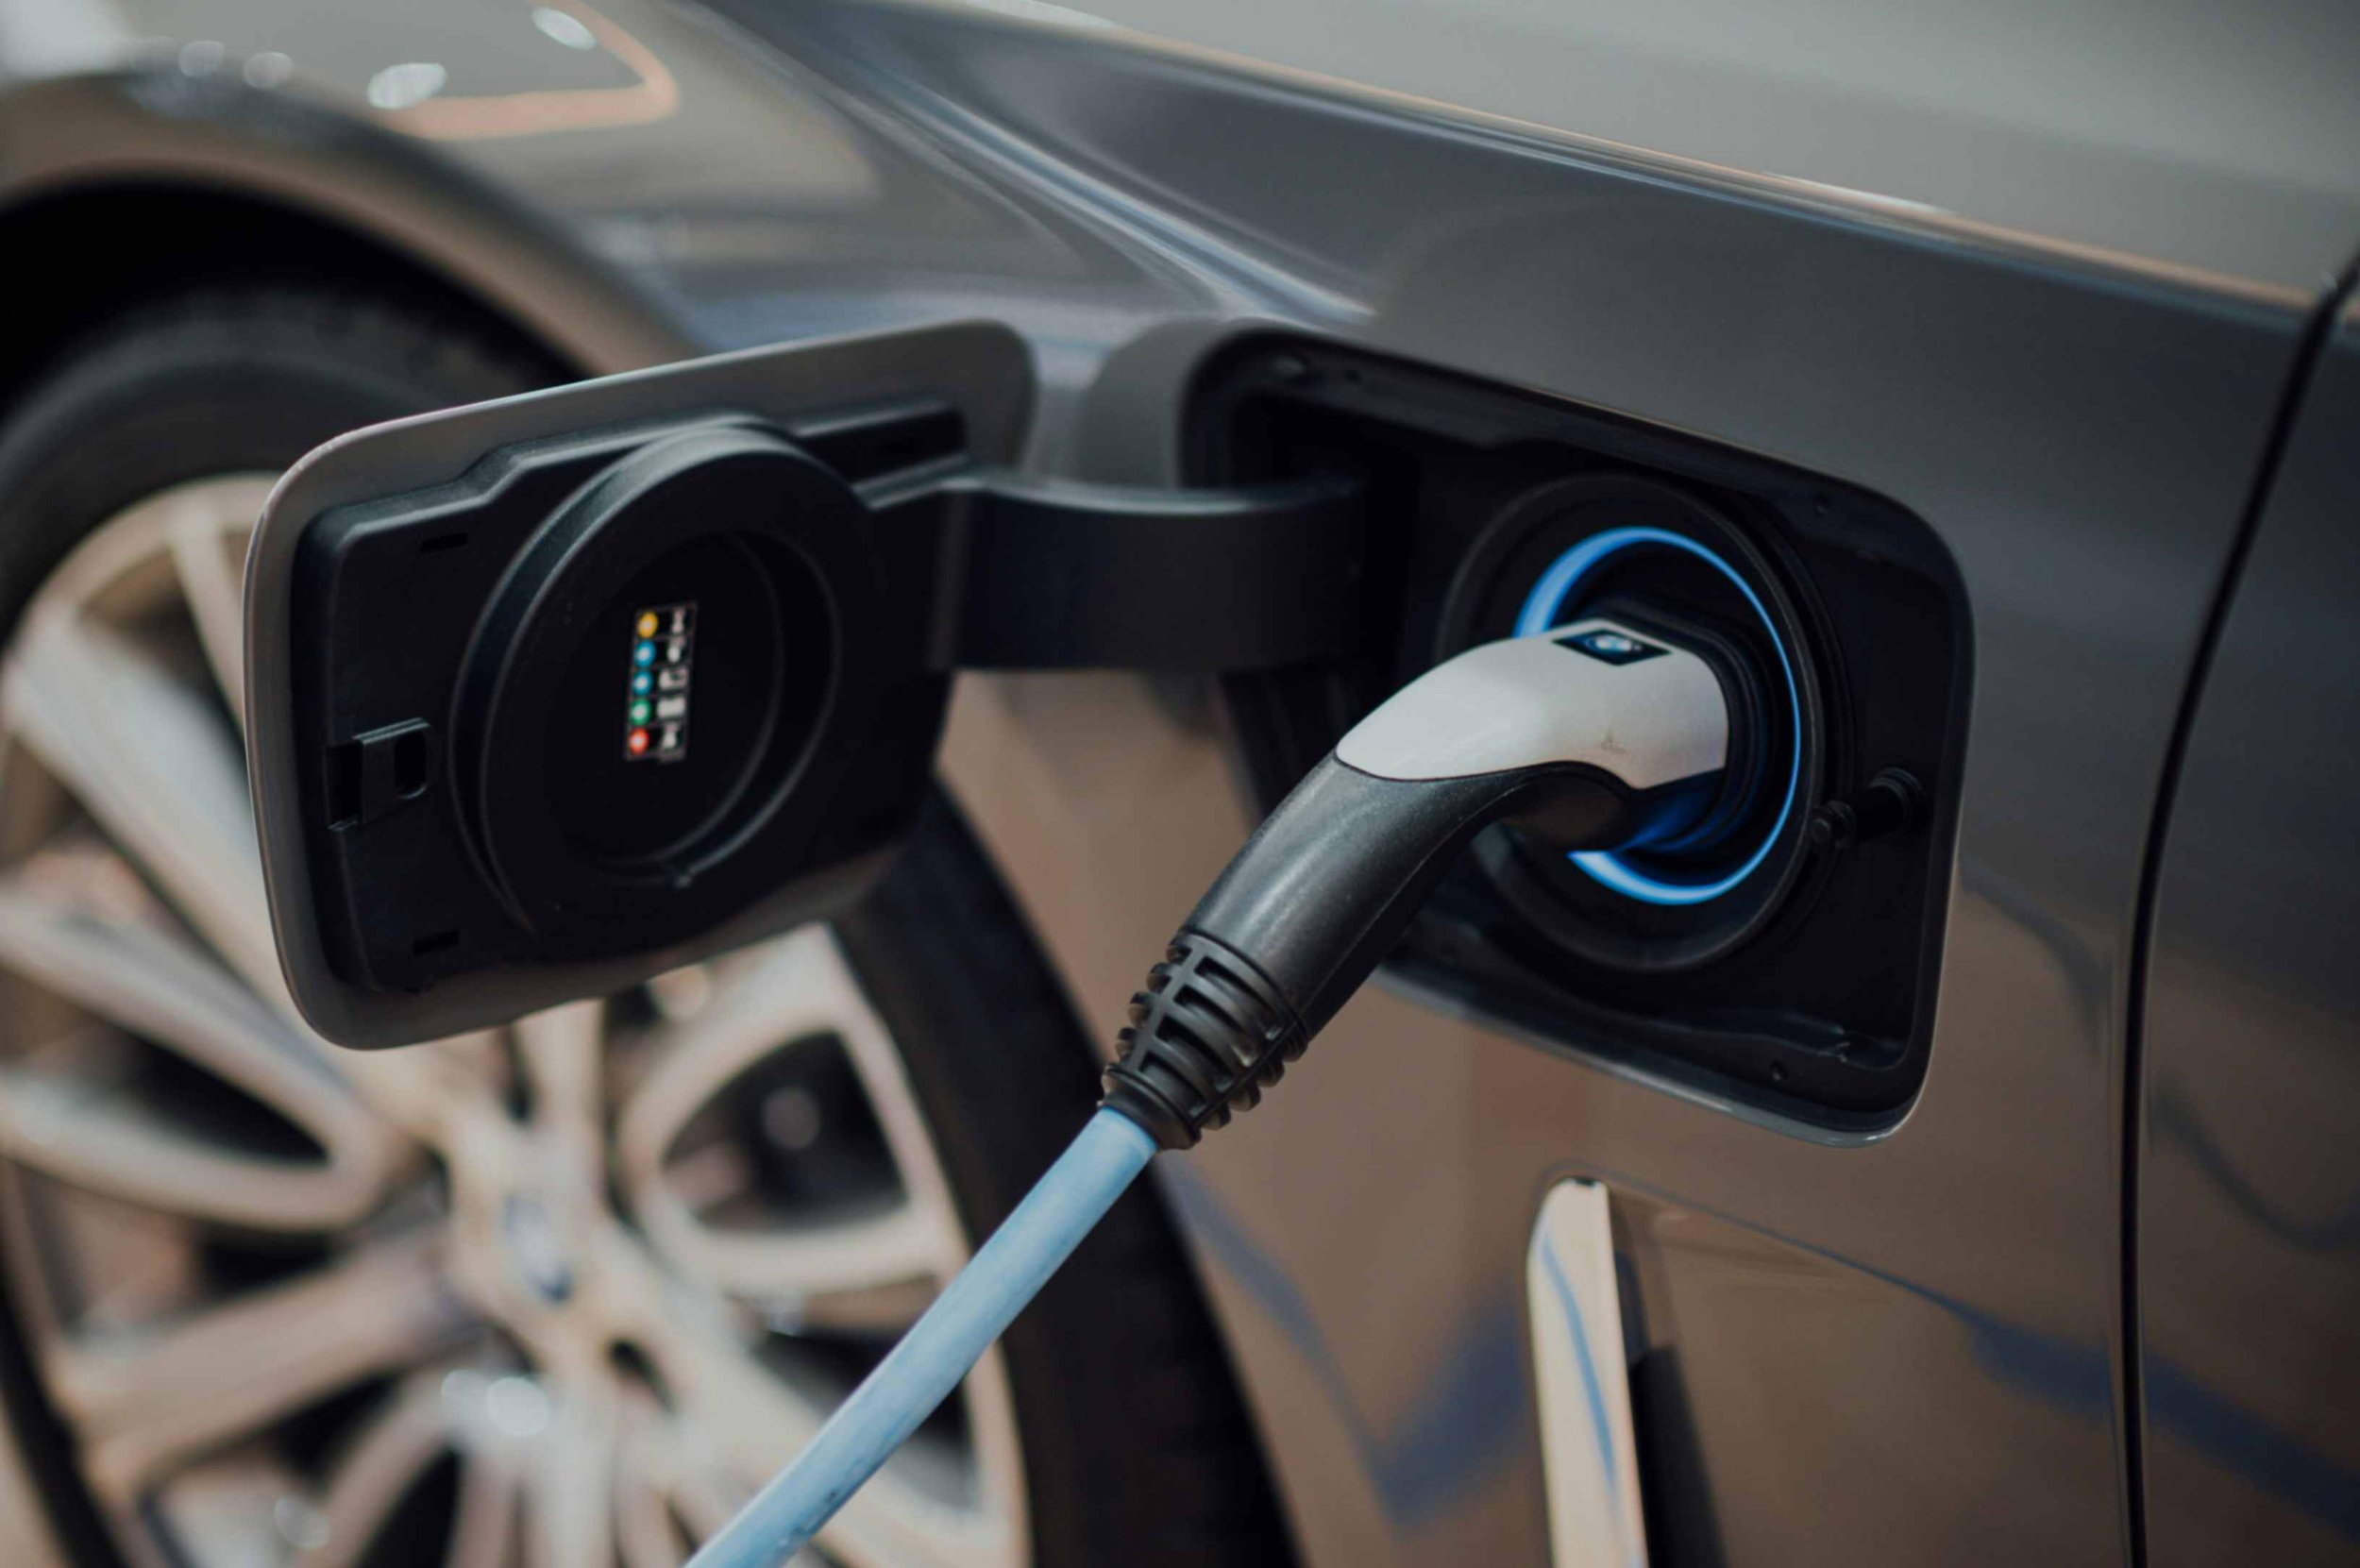
With the rising popularity of electric vehicles (EVs), installing a home charging station has become a practical and convenient option for many homeowners. A dedicated home charger allows for faster, more efficient charging compared to standard wall outlets. In this guide, we’ll walk you through the key steps to installing an EV charger at home.
Step 1: Choose the Right Charger
EV chargers come in different levels:
Level 1 Charger: Uses a standard 120V outlet, providing slow charging (4-5 miles of range per hour).
Level 2 Charger: Requires a 240V outlet, significantly faster (20-60 miles of range per hour), and is the preferred choice for home installation.
Step 2: Assess Your Electrical System
Before installing a charger, ensure your home’s electrical panel can handle the additional load:
Check the available amperage capacity.
Determine if a panel upgrade is necessary.
Consult an electrician to evaluate your setup.
Step 3: Obtain Permits and Approvals
Many municipalities require permits for electrical work, including EV charger installation. Homeowners in HOAs or condos should also seek approval from property management before proceeding. Our electricians at Fine Electric are skilled and knowledgeable at obtaining the required permits in Langley, BC and surrounding areas of the Fraser Valley.
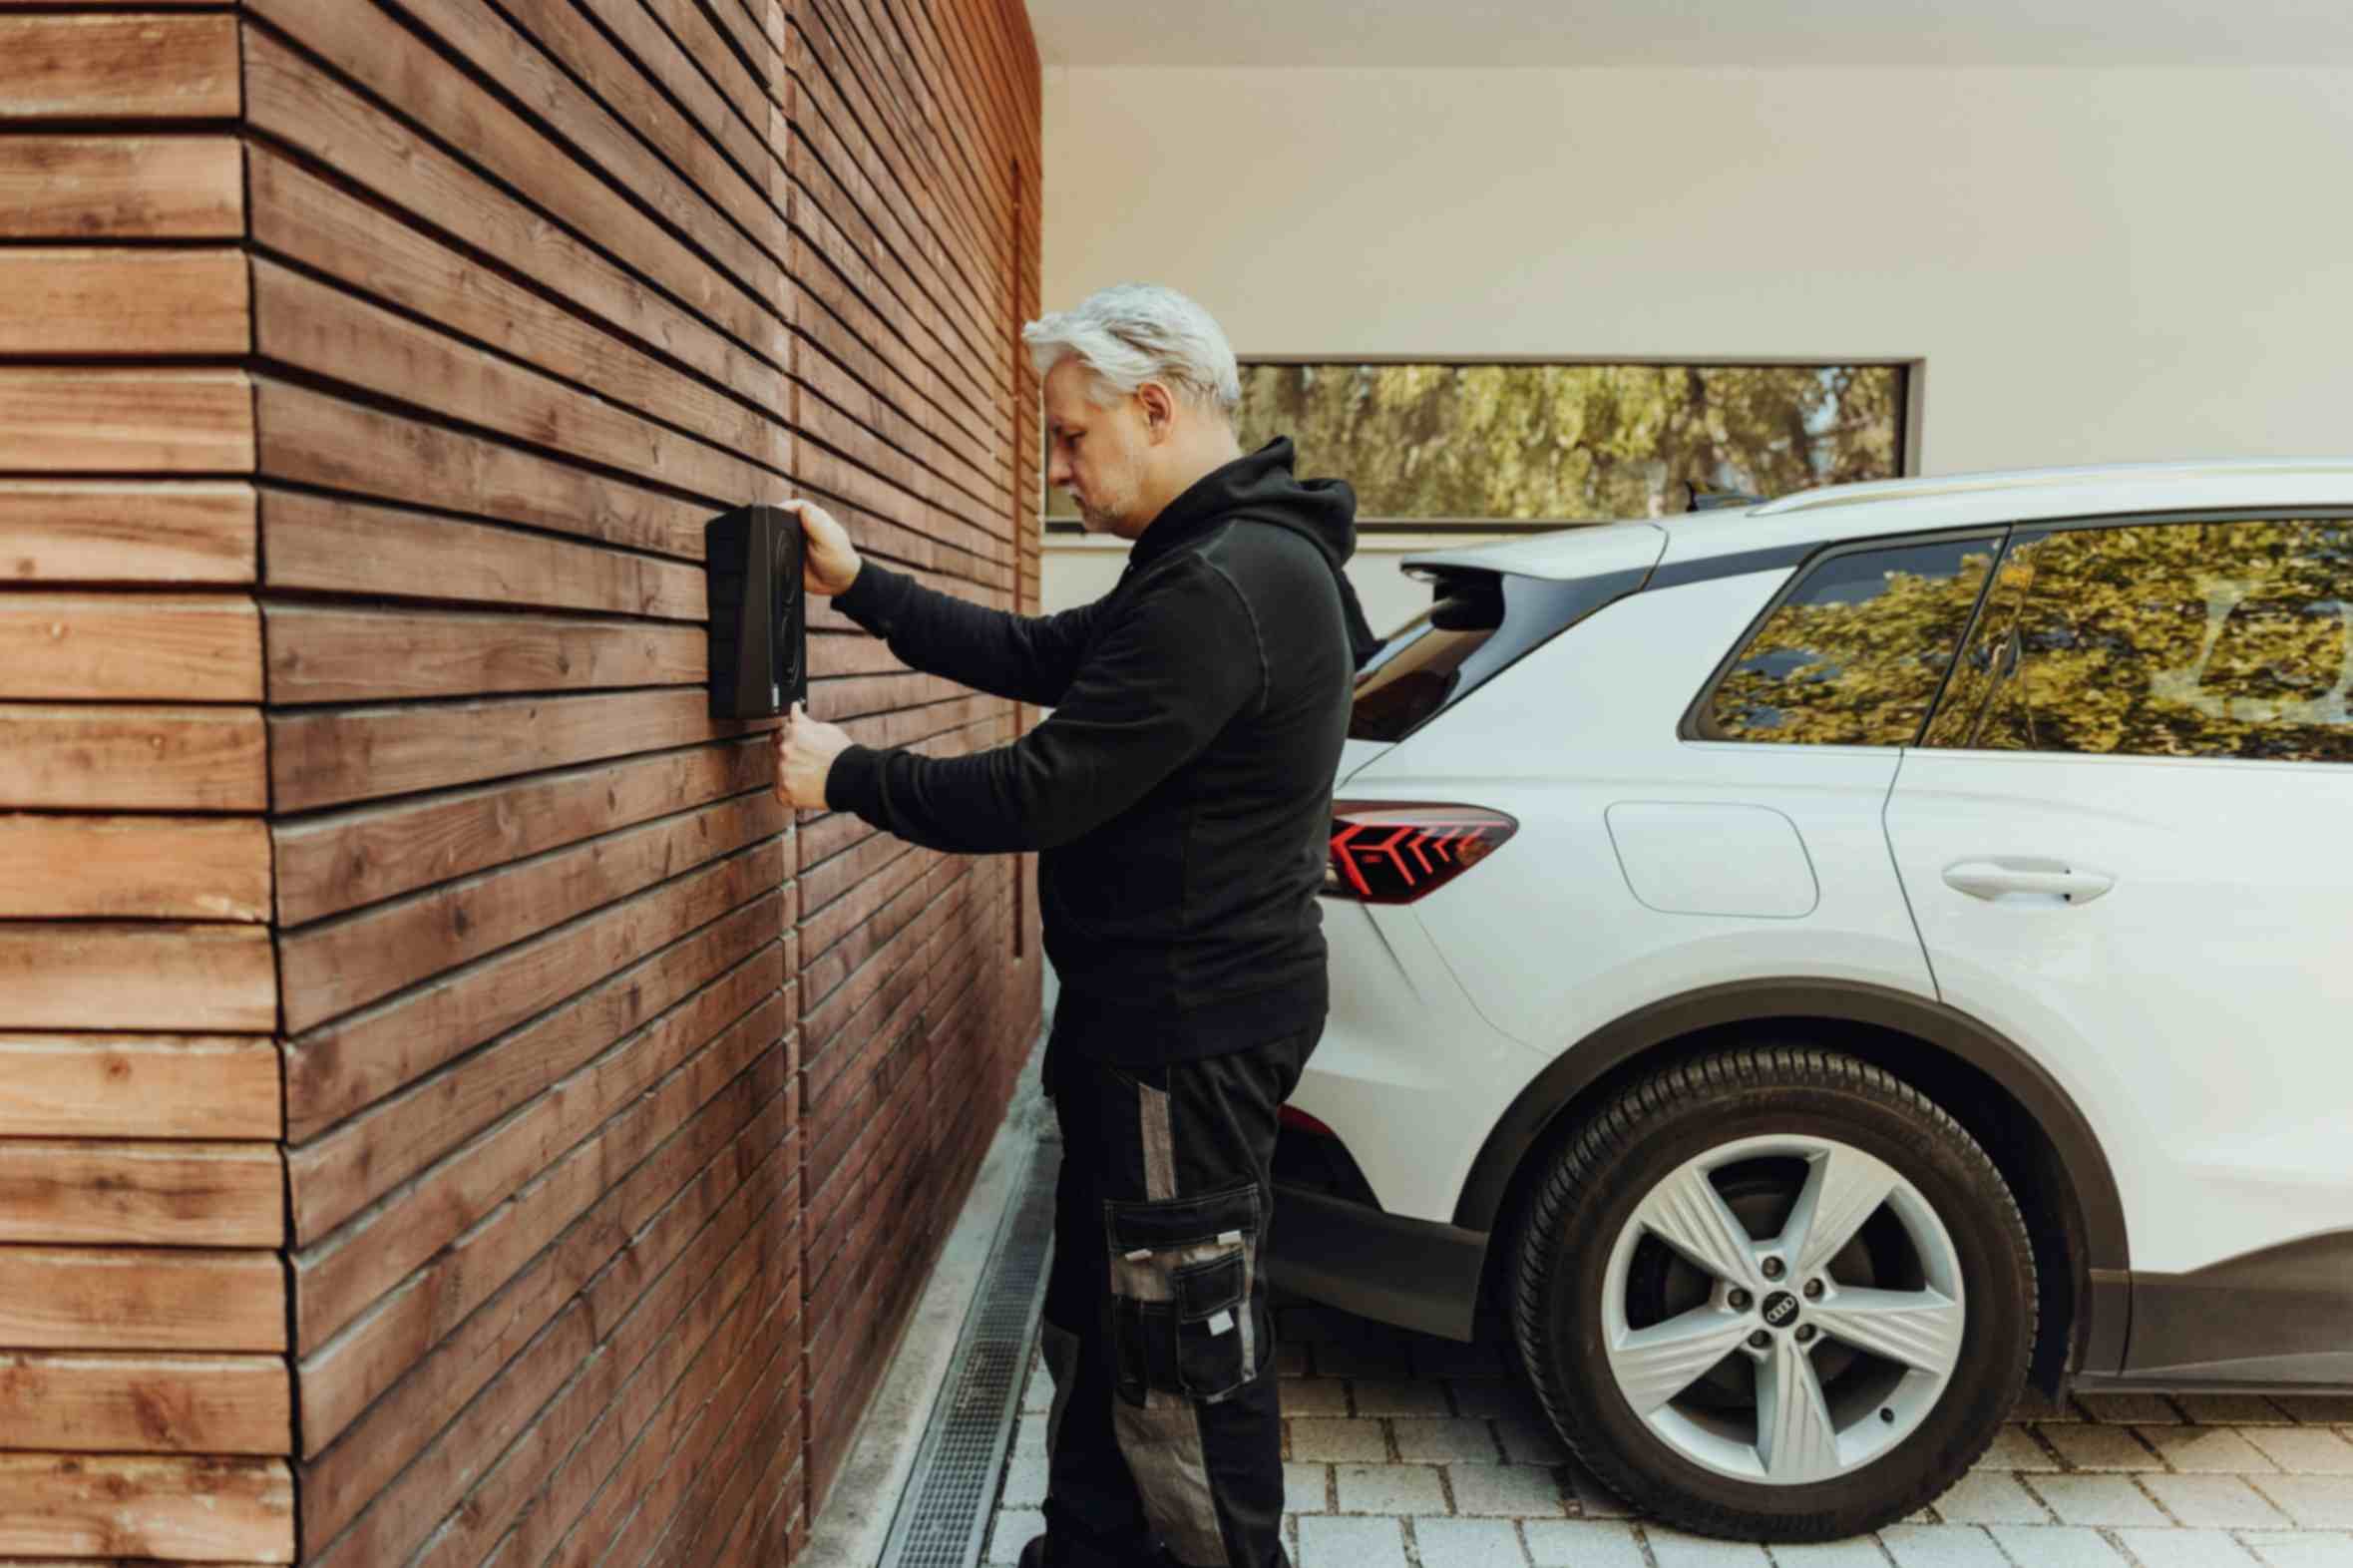
Step 4: Hire a Professional
A licensed electrician will:
Install a dedicated 240V circuit.
Ensure compliance with local electrical codes.
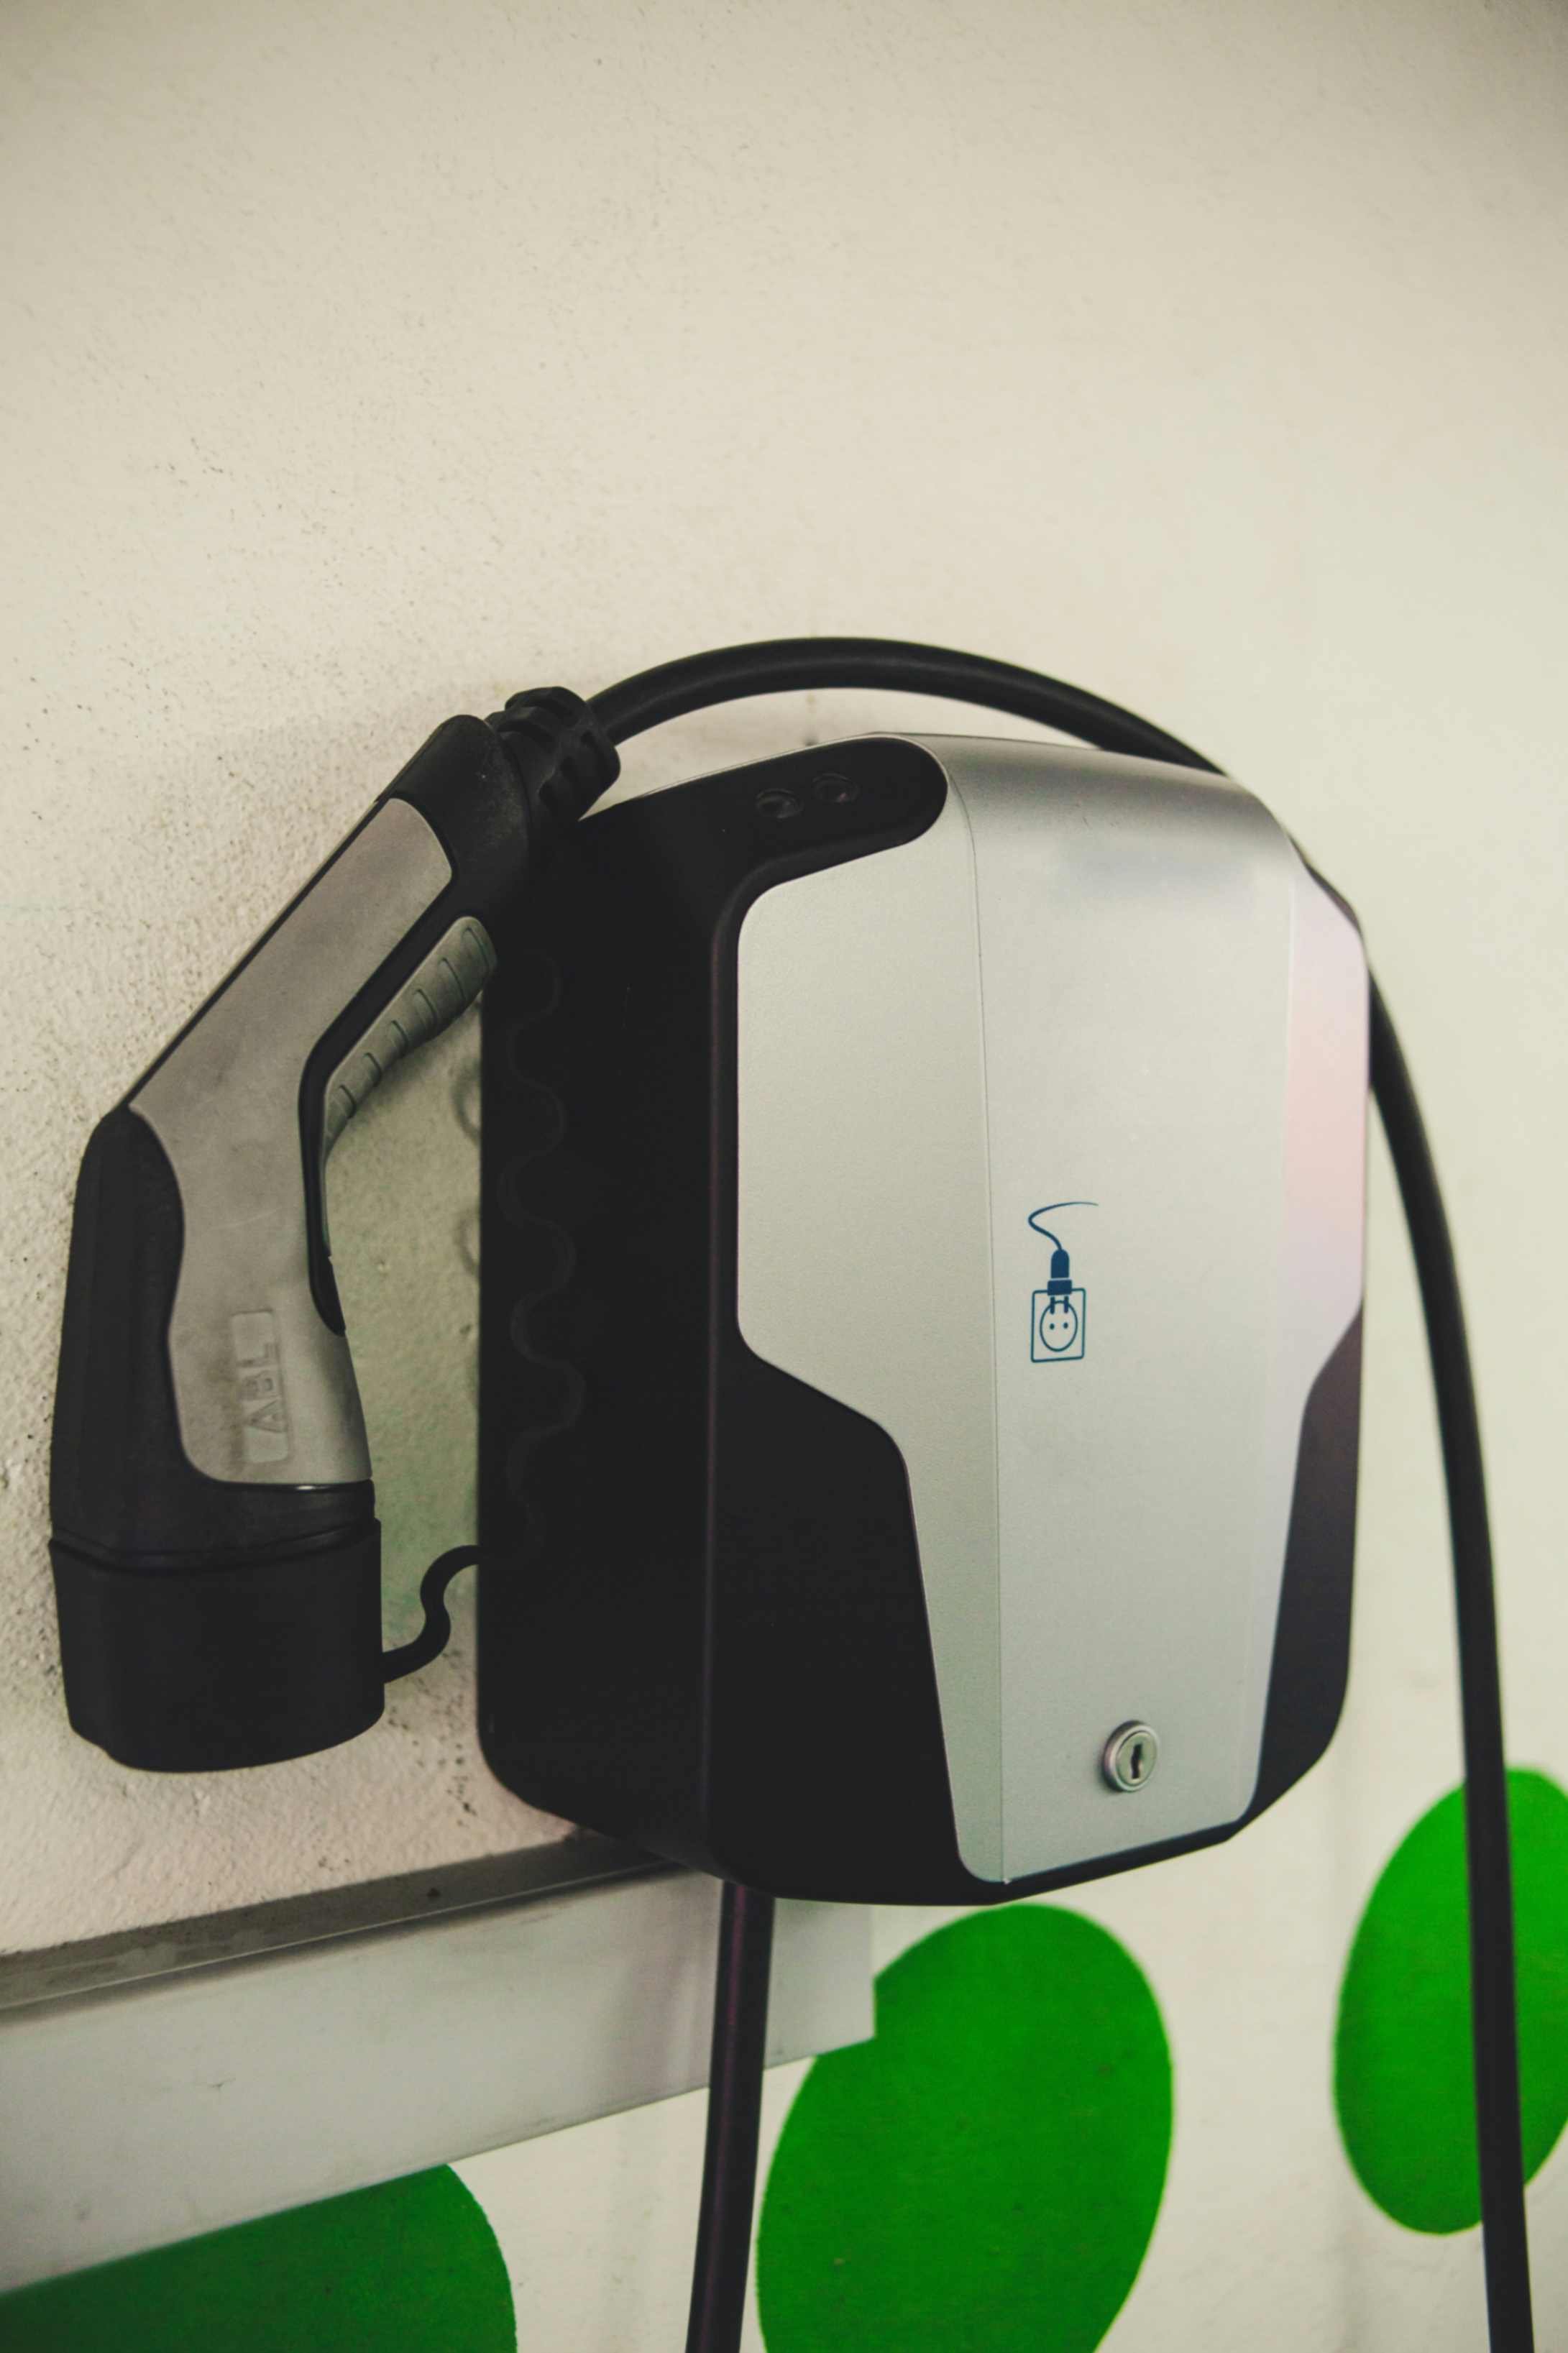
Mount the charging station safely and efficiently.
Step 5: Install and Test the Charger
Once installed, test the charger to ensure it functions correctly. Smart chargers often come with features like Wi-Fi connectivity for monitoring and scheduling charging sessions.
Step 6: Optimize Charging for Cost Efficiency
Charge during off-peak hours to take advantage of lower electricity rates.
Use smart charger settings to schedule charging times.
Consider installing solar panels to offset charging costs.
Step 7: Use and Maintain Your Charger
Once installed, follow best practices for safe and efficient use:
Regularly check for wear and tear on the charging cable.
Ensure connections remain secure and free from dust or debris.
Monitor your electricity usage to optimize charging habits.
Final Thoughts
Installing an EV charger at home is a worthwhile investment that enhances the convenience and cost-effectiveness of owning an electric vehicle. By following these steps, you can ensure a smooth and compliant installation that meets your charging needs for years to come.
Are you ready to install an EV Charger in your home? Call our licensed Electrician today.